osTicket - Post-Install Configuration

osTicket - Post-Install Configuration
This tutorial offers a detailed walkthrough of post-installation configuration for osTicket, covering essential settings, customization options, and best practices to optimize the support ticket system for your needs.
Environments and Technologies Used
- VMWare Workstation / Microsoft Azure / Amazon Web Services
- Internet Information Services
- Remote Desktop (if using Microsoft Azure)
Operating Systems Used
List of Prerequisites
- Virtual Machine/Provisioned Machine
- Administrator Privileges
- Internet Connectivity
- Installation of osTicket and its dependencies
Configuration Steps
In this documentation, we will cover the essential post-installation configuration steps for osTicket to ensure it meets your support needs. This includes setting up Roles, Departments, Teams, Ticket Creation Permissions, Agents (Workers), Users (Customers), Service Level Agreements (SLAs), and Help Topics. Each of these components plays a crucial role in organizing and managing your support operations effectively, enabling a streamlined and efficient workflow for handling customer support requests.
After signing in using the appropriate credentials we can head over to the Admin Panel from the top right, which is a centralized dashboard that allows administrators to configure settings, manage users, customize workflows, and oversee all aspects of the ticketing system. First we will mouse over the Agents tab and a dropdown menu will appear, where we will choose Roles.
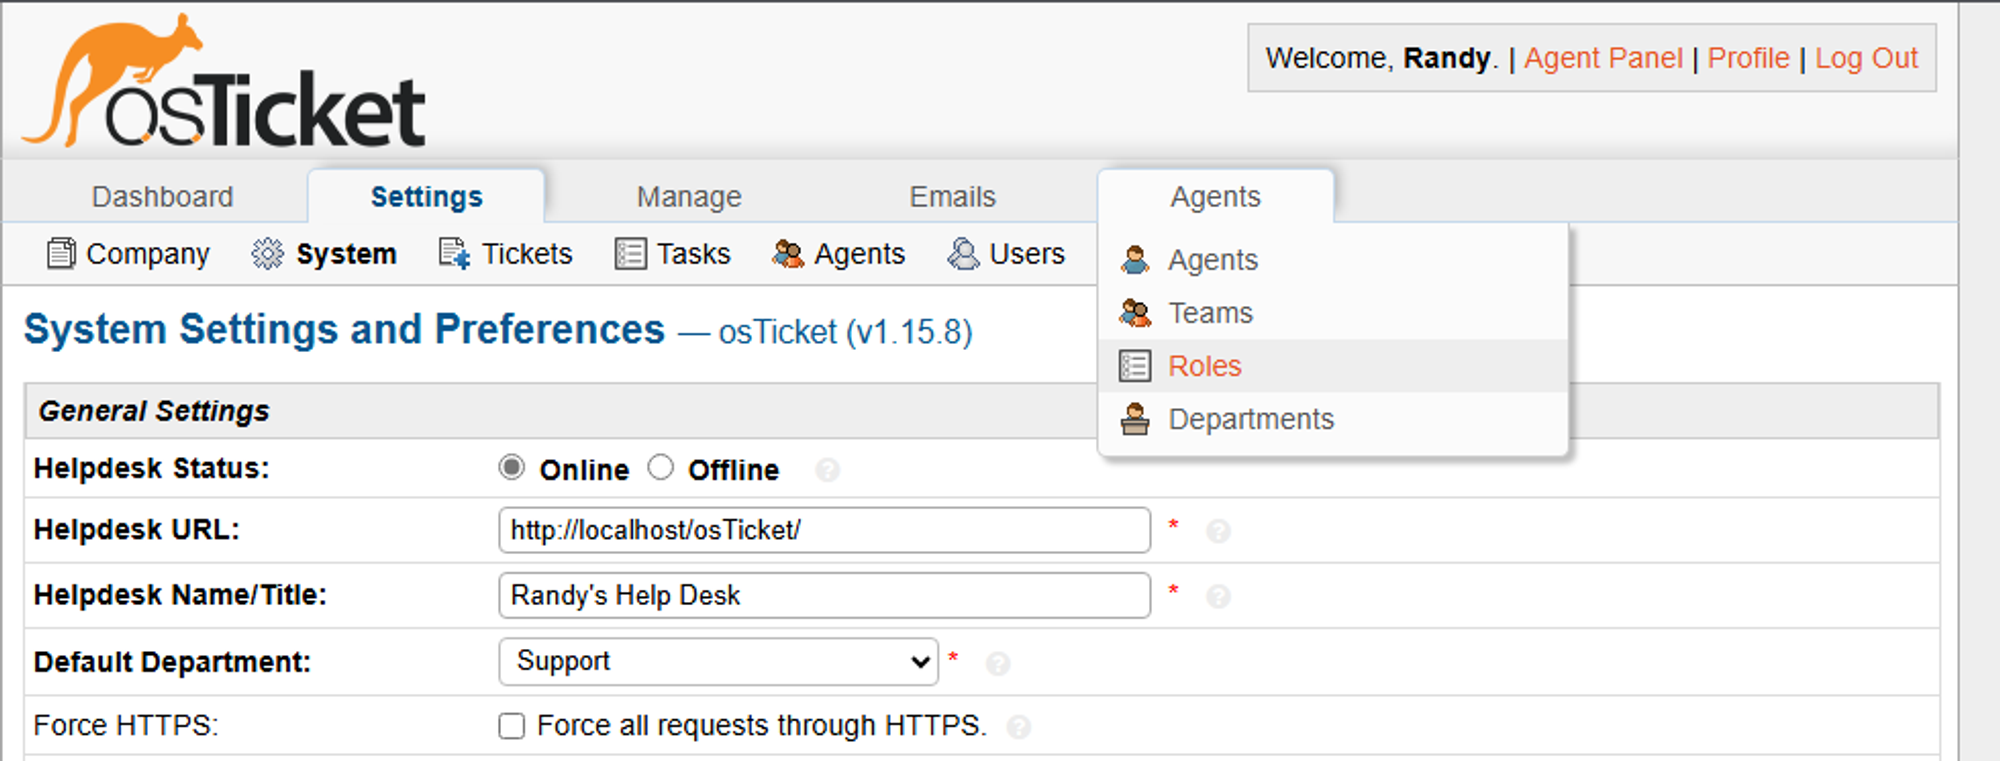
Roles in osTicket defines the permissions and access levels for users within the system, determining what actions they can perform within the admin panel and user interface. Here we can create a new Role and assign it permissions with the Add New Role button. First we name the Role, then head over to the Permissions tab, where we can enable the permissions according to various categories. For this guide, we can create a “Supreme Admin”, that has all permissions enabled.
Next we can head over to the Departments tab, where we can create a new department through the Add New Department tab. Departments in osTicket serve as organizational units within the support system, grouping agents with specific expertise and assigning them to handle relevant tickets efficiently. For example, you might create a department for System Administrators that operates under certain SLAs or is under a certain manager or that can only be assigned certain tickets. We can manage all these settings directly by creating a new Department.
Nevertheless, what good is a new department without Agents assigned to them? After all, Agents in osTicket are the support staff members who handle incoming tickets, providing answers and resolutions to user queries and issues. This can be managed through the Teams tab, where we can organize Agents in groups to handle specific types of support tickets or projects.
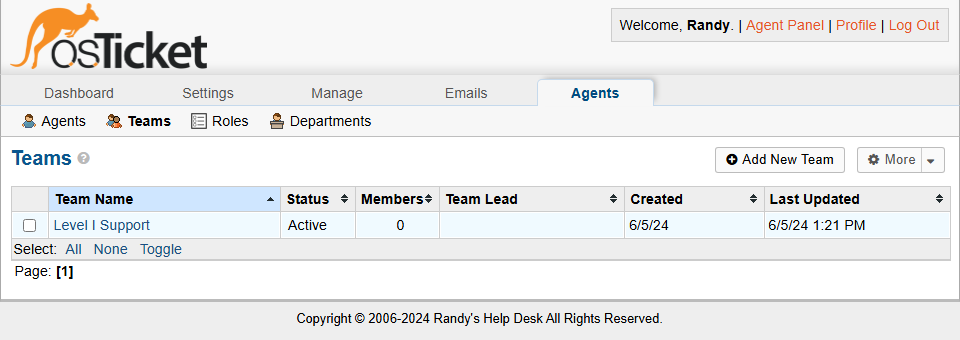
At the moment, we only have one team at Level 1. But what if we needed multiple levels to handle tickets appropriately? This is when adding a New Team can come in handy. For example, we can add a New Team named Level II Support, and assign members to them according to our needs.

Now, if our osTicket has been freshly installed, not many Agents will be available to add them to separate teams, but that can be resolved through the Agents tab. Here we can create new agents, assign their access rights, set their permissions, and assign them to team.

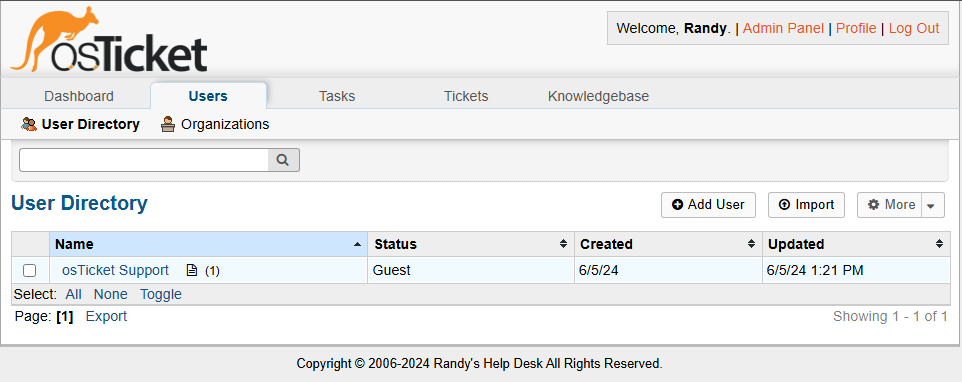
Now that we have created some Agents to handle the incoming tickets, we can create Users, which are the customers or clients who submit support requests and interact with the ticketing system to receive assistance and resolutions. First it is important that the Registration Method is set to Public, or else ticket creation will not be possible from the User side. This can be done under Settings, in the Users tab:

Before we create users to begin the ticketing process, we must configure SLAs, which are policies that define the expected response and resolution times for tickets, ensuring that support requests are addressed within agreed-upon timeframes. This can be done in the Manage settings, under the SLA tab.

When creating SLAs, it is important to have varying levels of severity, so that tickets can be handled within certain timeframes depending on their importance. For example, we can set up 3 SLA, which can vary from critical to non-critical. Each of these will have their own schedules and grace periods, which determines the number of hours after ticket creation before a ticket is considered overdue. Note the following configurations:
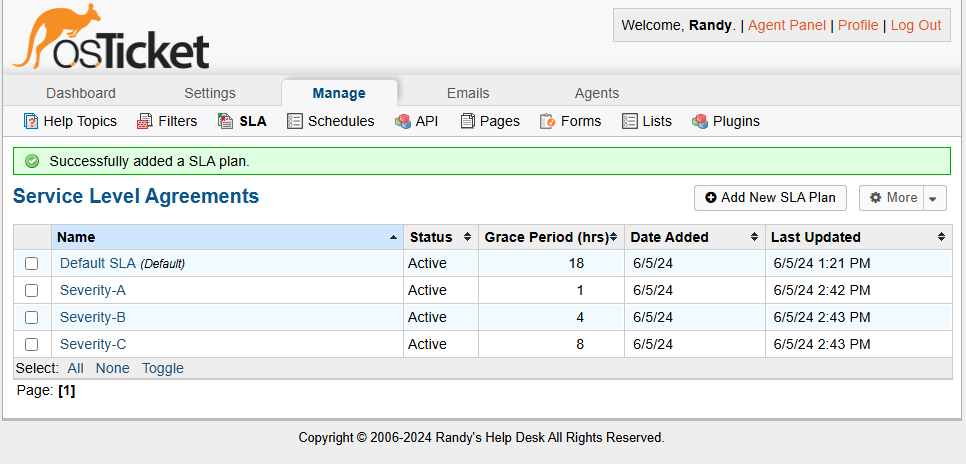
- Severity-A: 1Hour Grace Period; Scheduling 24/7
- Severity-B: 4 Hour Grace Period; Scheduling 24/7
- Severity-C: 8 Hour Grace Period; Scheduling during business hours
This allows for easier classification of incoming tickets, and thus a more efficient ticketing system. Another way of increasing efficiency is through the use of Help Topics, which categorize support inquiries, directing them to the appropriate departments or teams and helping to streamline the ticketing process and response strategies. Configuration of Help Topics can be done through the Manage settings, under Help Topics.
For example, we can have topics set for Business Critical Outages, Personal Computer Issues, Equipment Request, Password Resets, etc., each with their specified SLA, priority and department if need be:

Now that we have the appropriate settings configured, we can switch back to the Agent Panel through the top right corner, and head over to the Users tab, where we can add new users.
Congrats! Your osTicket system should now be up and running and tickets can now be handled properly. Feel free to explore any additional configurations or check out my Ticket Lifecycle tutorial to understand how to create, work, and resolve tickets.