osTicket - Ticket Lifecycle - Intake Through Resolution

osTicket - Ticket Lifecycle: Intake Through Resolution
This tutorial guides users through the entire ticket lifecycle in osTicket, covering ticket intake, assignment, communication, resolution, and closure processes, ensuring efficient management and satisfactory resolution of customer support requests.
Environments and Technologies Used
- VMWare Workstation / Microsoft Azure / Amazon Web Services
- Internet Information Services
- Remote Desktop (if using Microsoft Azure)
Operating Systems Used
List of Prerequisites
- Virtual Machine/Provisioned Machine
- Administrator Privileges
- Internet Connectivity
- Installation of osTicket and its dependencies
- Configuration of osTicket
Ticket Lifecycle Stages
- Intake
- Assignment and Communication
- Working the Issue
- Resolution
Lifecycle Stages
In the lifecycle of a support ticket, several distinct stages outline the journey from its initial intake to eventual resolution. The process commences with the intake stage, where a customer submits a support request, detailing their issue or inquiry. Following intake, the ticket is assigned to an appropriate agent or team, marking the beginning of communication and collaboration to address the matter effectively. As agents work the issue, they engage in troubleshooting, gathering necessary information, and providing updates to the customer as required. Finally, upon successful resolution, the ticket progresses to closure, signifying the completion of the support request. In this documentation, we will delve into each of these stages, exploring best practices and strategies for managing the ticket lifecycle seamlessly within osTicket.
Intake
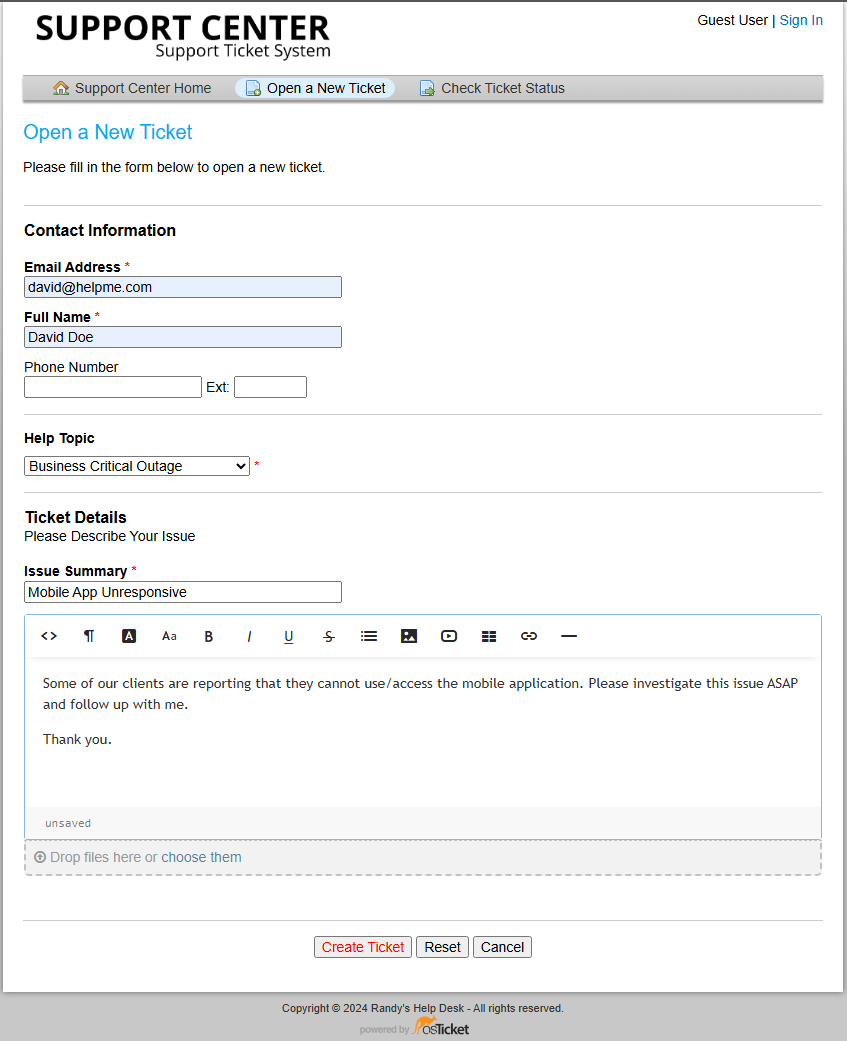
To further visualize this lifecycle we will login as a user to our osTicket system to create our first ticket. In order to do this, we can access http://localhost/osTicket/ as one of the users that we have created for our system. From here we can select Open a New Ticket, fill in the Contact Information accordingly, and select the appropriate Help Topic:
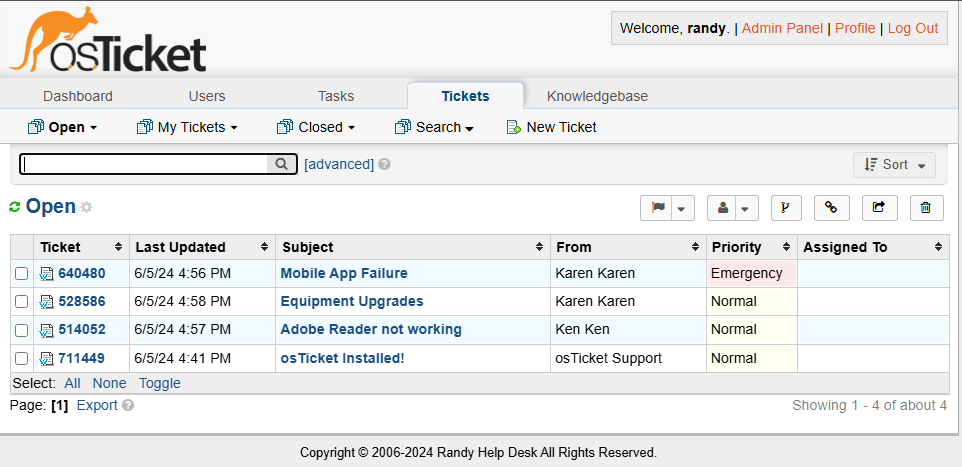
In order to view this newly created ticket we can login through the Agent portal at http://localhost/osTicket/scp/login.php, and enter the appropriate credentials from either the main admin or a created Agent that has appropriate permissions. From here we can view tickets from the Agent Panel under the Ticket Tab. I took the liberty to create a few tickets with a few users to have more tickets available:
Assignment and Communication
As you can see from the previous image, the tickets are currently not entirely organized, so we can start to access each ticket and sort them in a more appropriate manner - often times, this can be the job of a Queue manager.
Once we have accessed a ticket, we can start to set appropriate priorities, departments, assignments, SLAs, etc. For example:
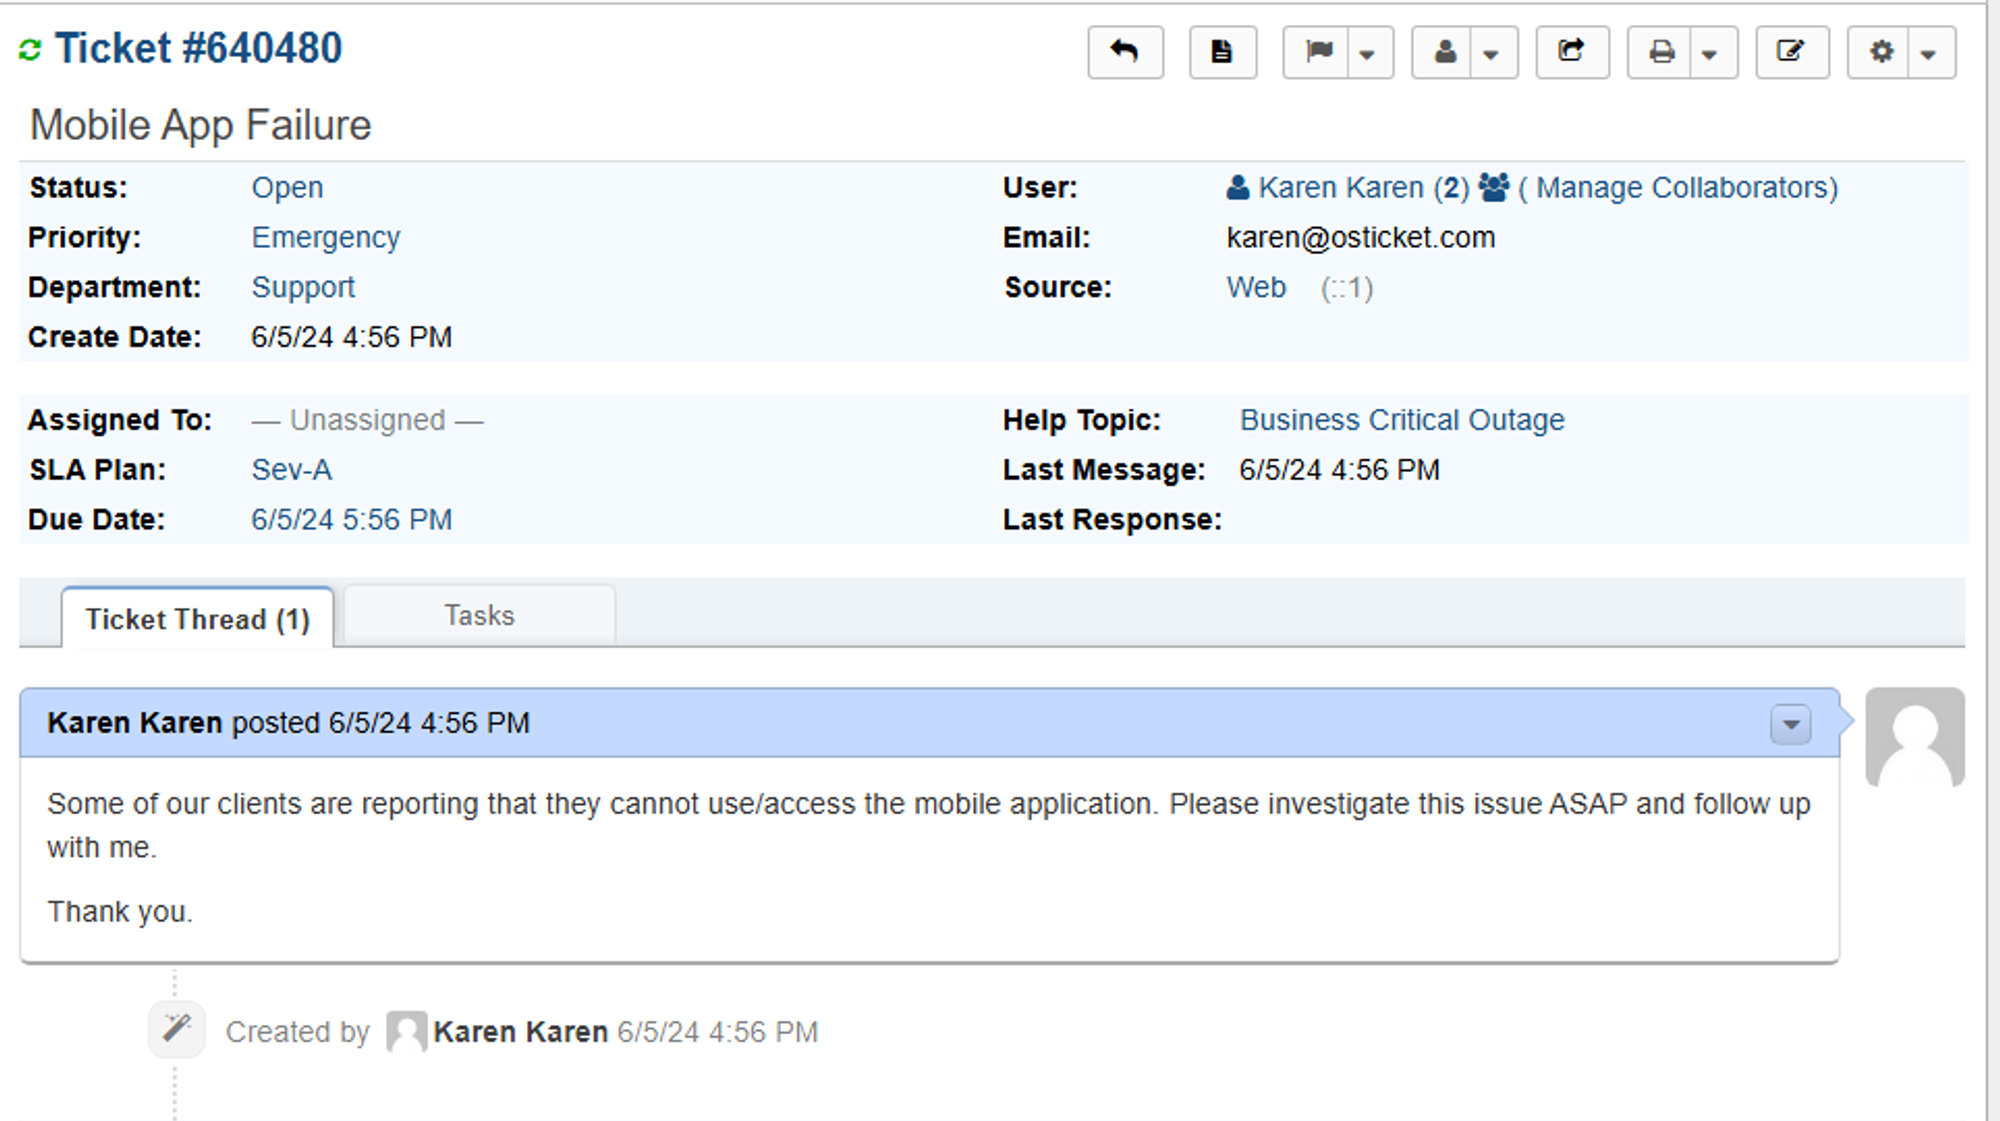
This ticket currently does not have an agent assigned to it, so we can click the —Unassigned—button to add someone. We can always double check other configurations and update as need be by simply clicking on the set option.
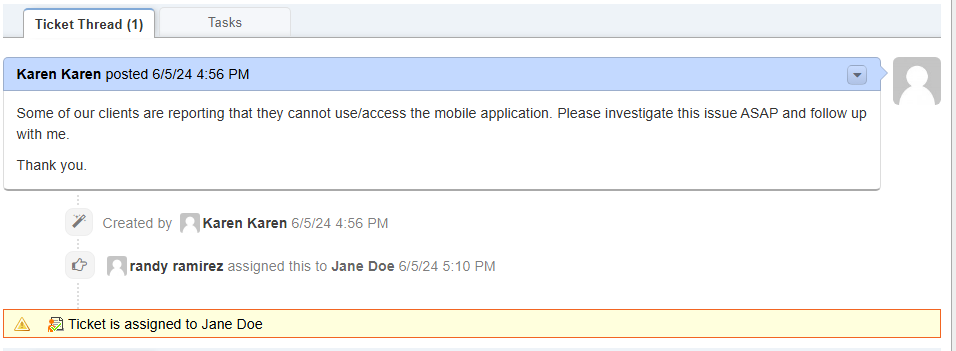
If you refresh the page you will notice that the changed options have updated, and now a Ticket Thread has been updated to show the applied changes:
Working the Issues & Resolution
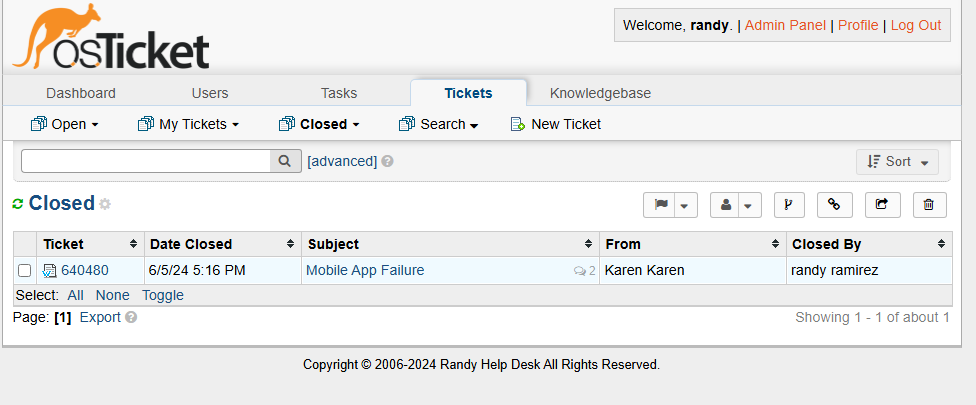
And lastly, we can post a reply to the ticket to update the the user that submitted the ticket. Along with this we can Close or leave the ticket Open. If we leave it Open, the ticket will still exist in the Ticket Tab, but if we Close the ticket, it will be moved to the Closed Tab:
We will then rinse and repeat the same process for the remaining tickets, making the necessary adjustments and closing when the ticket has been resolved.
Congrats! You have now followed the lifecycle of a ticket, from intake to resolution!
Feel free to check out my other projects for more detailed guides!